Dashboard
Welcome Screen
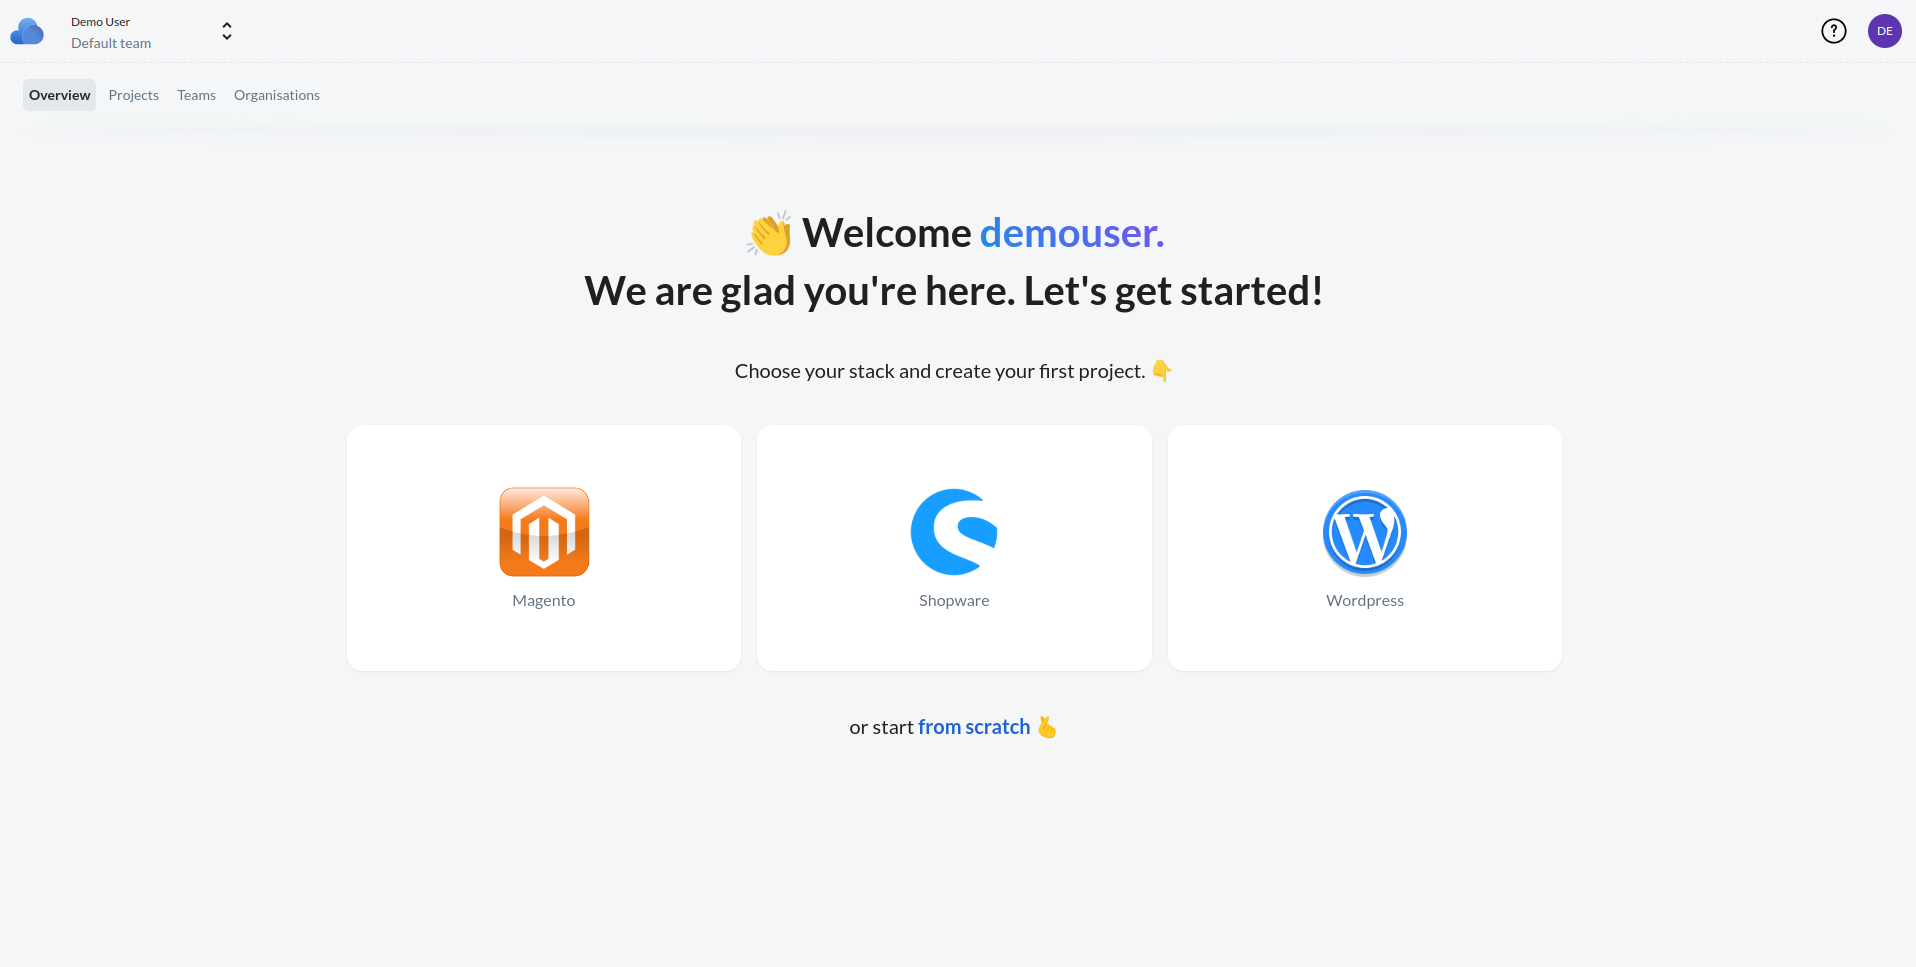
Upon your initial login, due to the absence of any pre-existing projects, you'll be greeted by the welcome screen. Here, you have the option to select from starter templates for a quick setup or opt for the advanced mode for more customized project creation.
Left menu
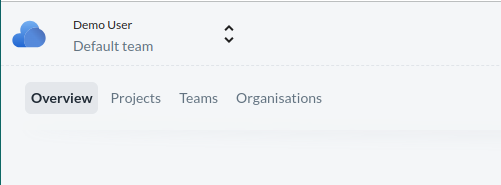
Located beneath the logo in the left-hand menu, your username and the team currently selected are displayed (details on Teams will be covered subsequently). By default, you are assigned to your "Default team," which is established upon registration. This team setting can be altered to another existing team if desired. Below, a dashboard link is provided, followed by the Projects section. Here, you can view projects you've created and have the option to initiate new ones. The subsequent menu item, Teams, allows for the management of your teams. You can add, edit, and delete teams here, with the exception of the default team. The final menu option is Organizations, offering similar management features, allowing you to handle your organizations with the same capabilities as provided in the Teams section.
Profile settings
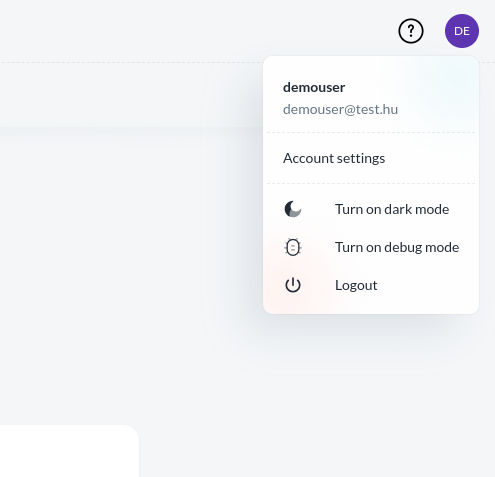
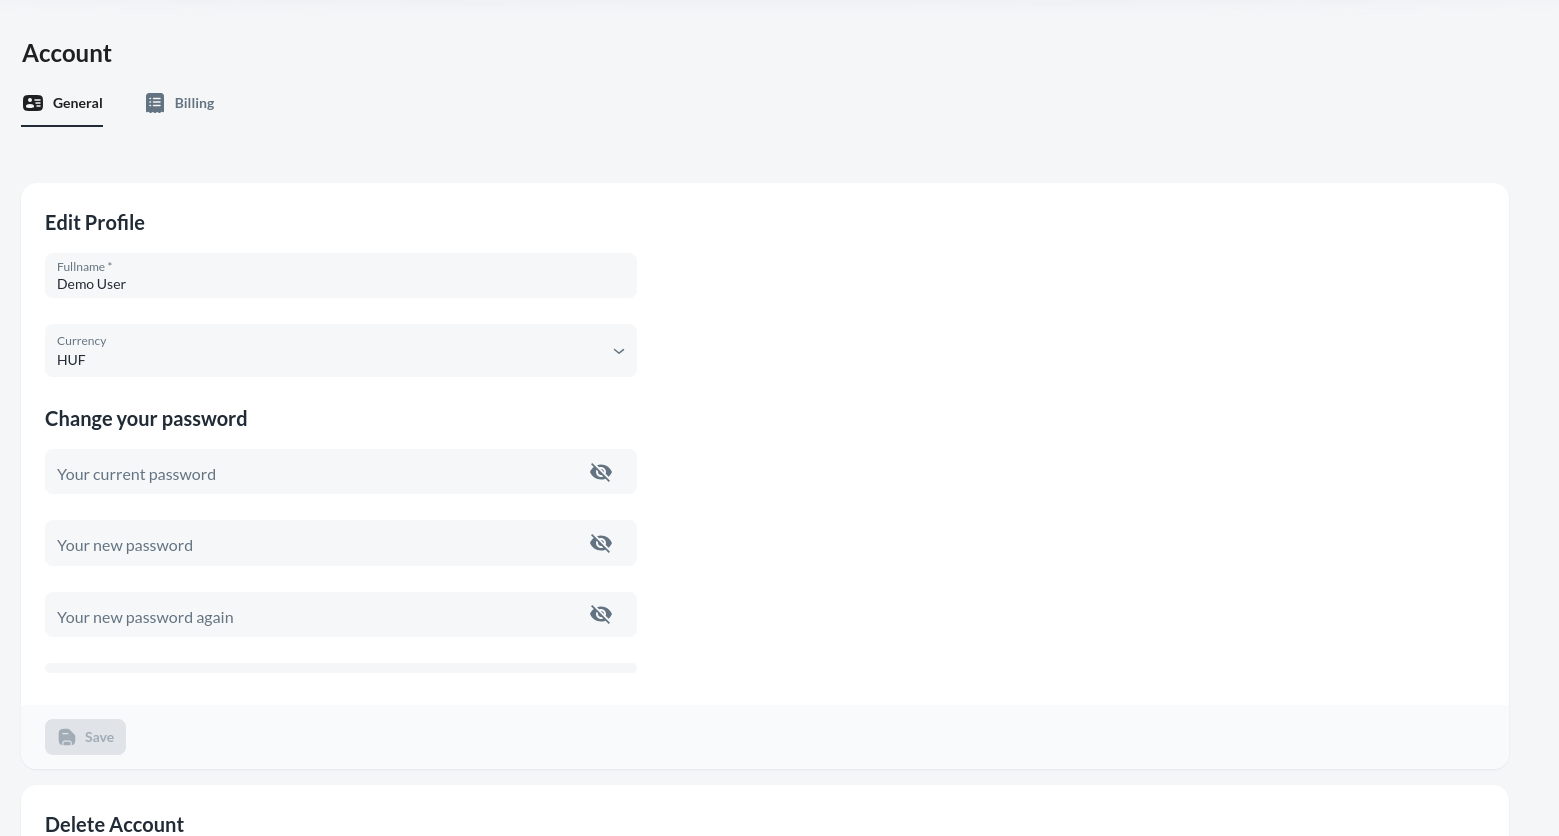
To adjust your profile settings, click on the icon located in the upper right corner. Within the "Profile" section, you have the ability to modify your full name, update your password, and select a default currency. The Billing section provides options to subscribe or unsubscribe from services, as well as to add or remove credit cards and settle payments for resources utilized.
Please note that the Reports, Settings, and Limits features are presently inaccessible.
Subscription
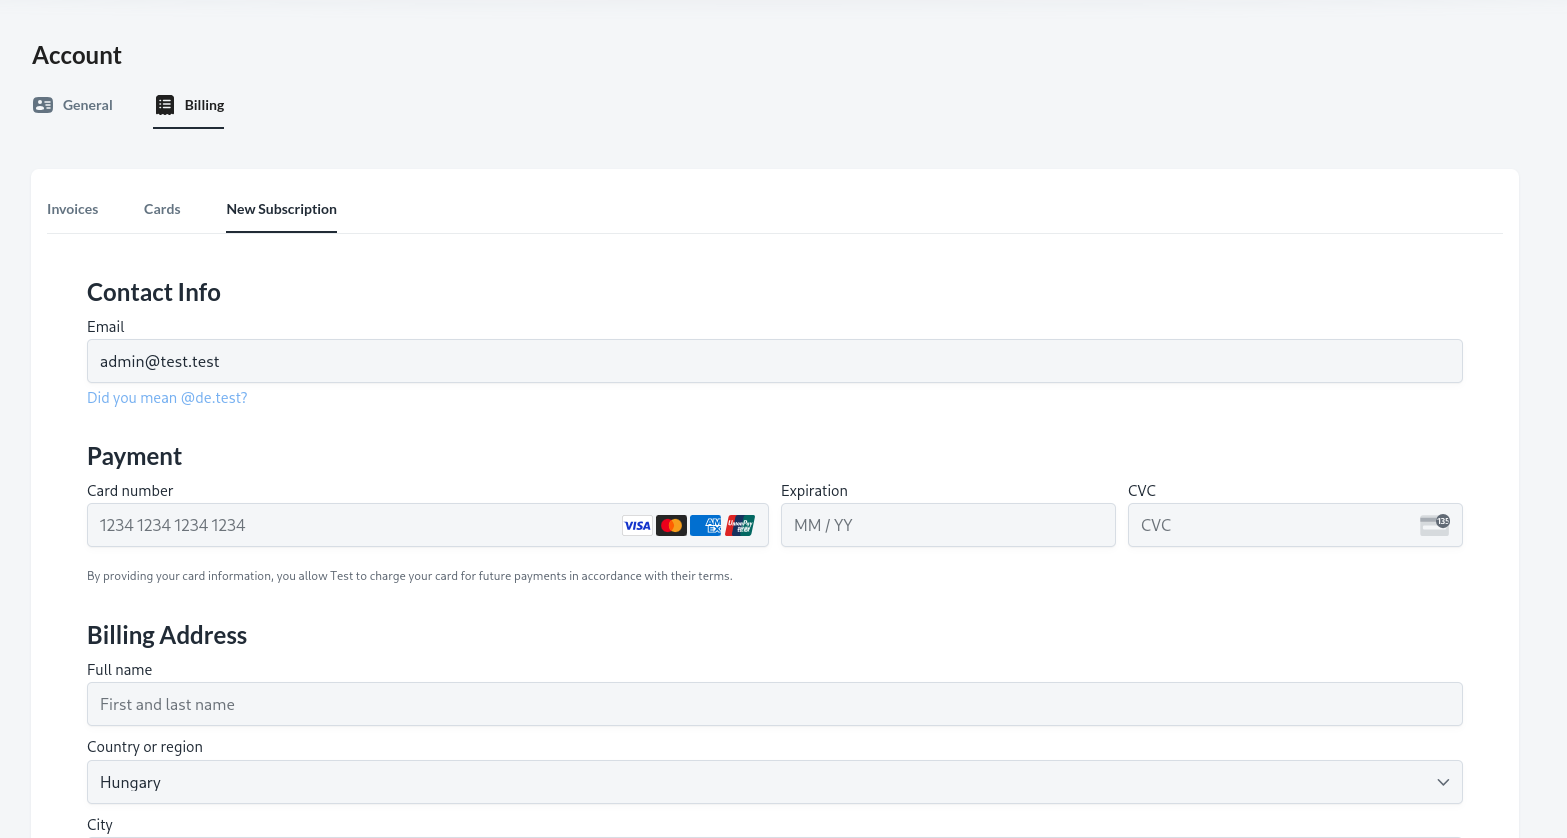
To create a new subscription, navigate to the Billing / New subscription menu.
For Contact Info, the system defaults to the email address you registered with, but this can be changed. Enter a valid card details under Payment, and under Billing Address enter your address.