Creating the first project
This guide provides detailed instructions on creating a project using the provided interface. It outlines the steps involved in setting up a project from scratch or utilizing predefined templates.
Project Creation Options
To begin creating a project, access the Projects section and click to the Create button. There are two primary options available:
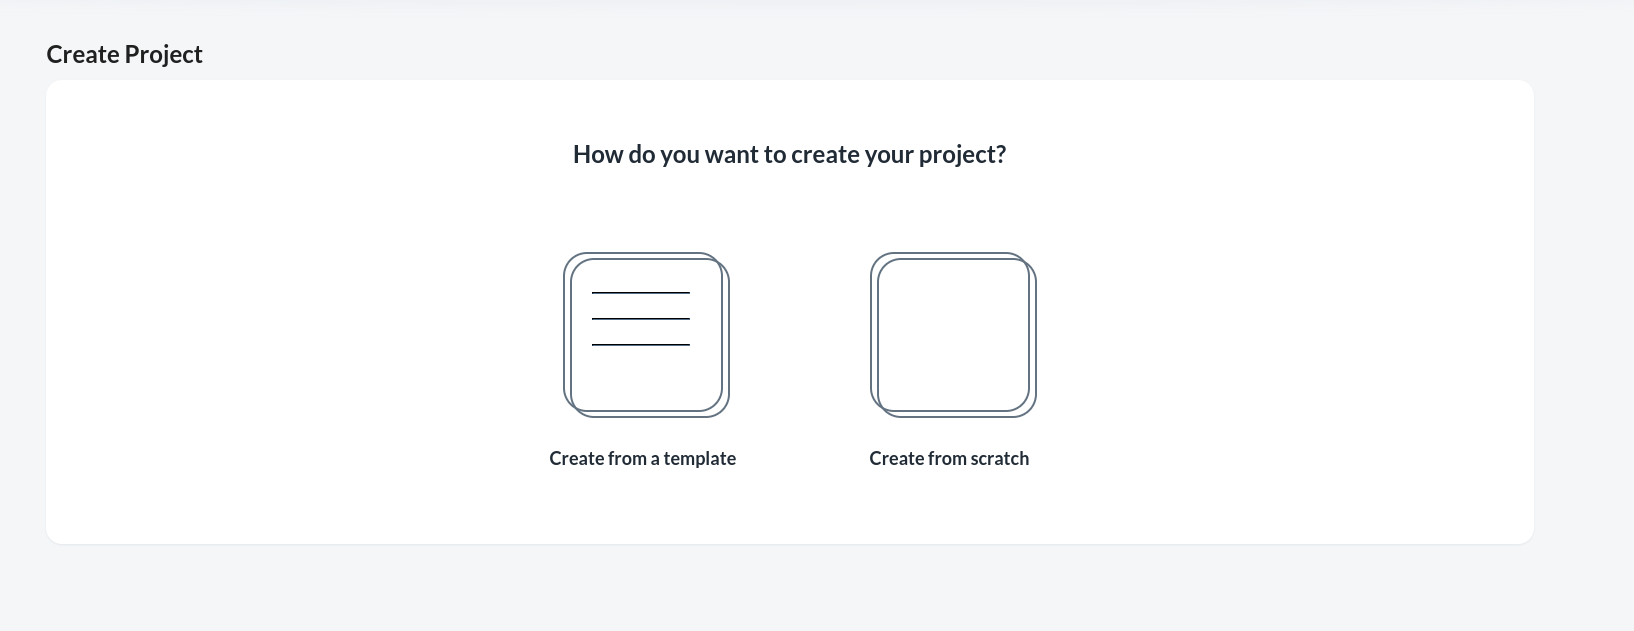
Create from Template
Utilize pre-configured templates that include necessary components and versions.
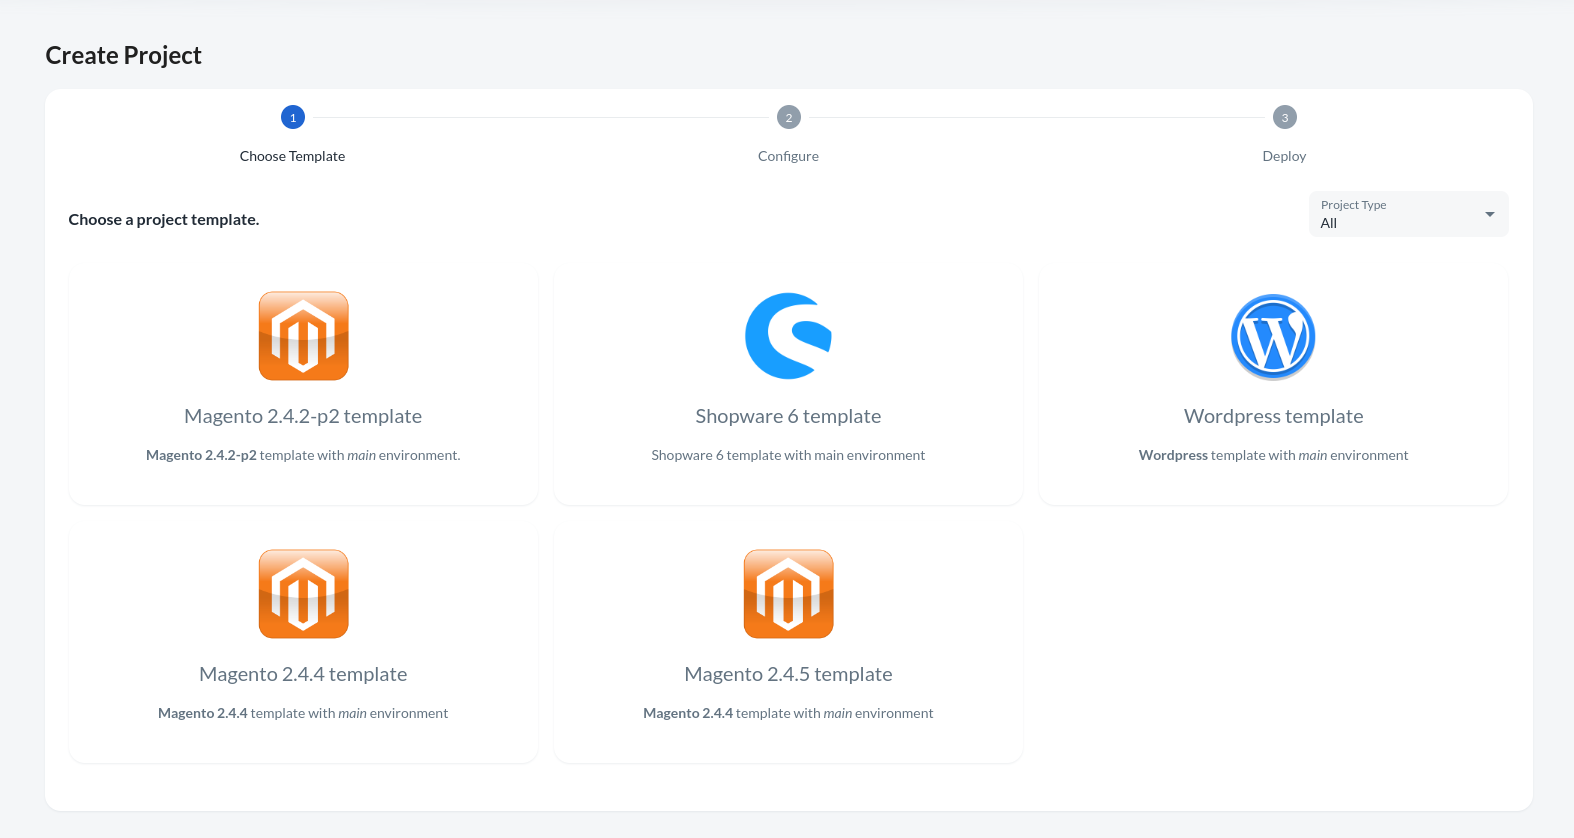
Template Selection:
Choose a suitable template from the list of available options.
Project Configuration:
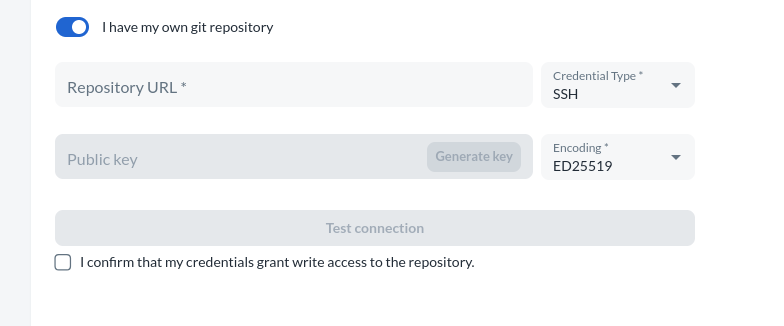
Enter the project name and specify provider, cluster and git repository details. Options include internal or external repositories, with support for SSH or HTTP connections.
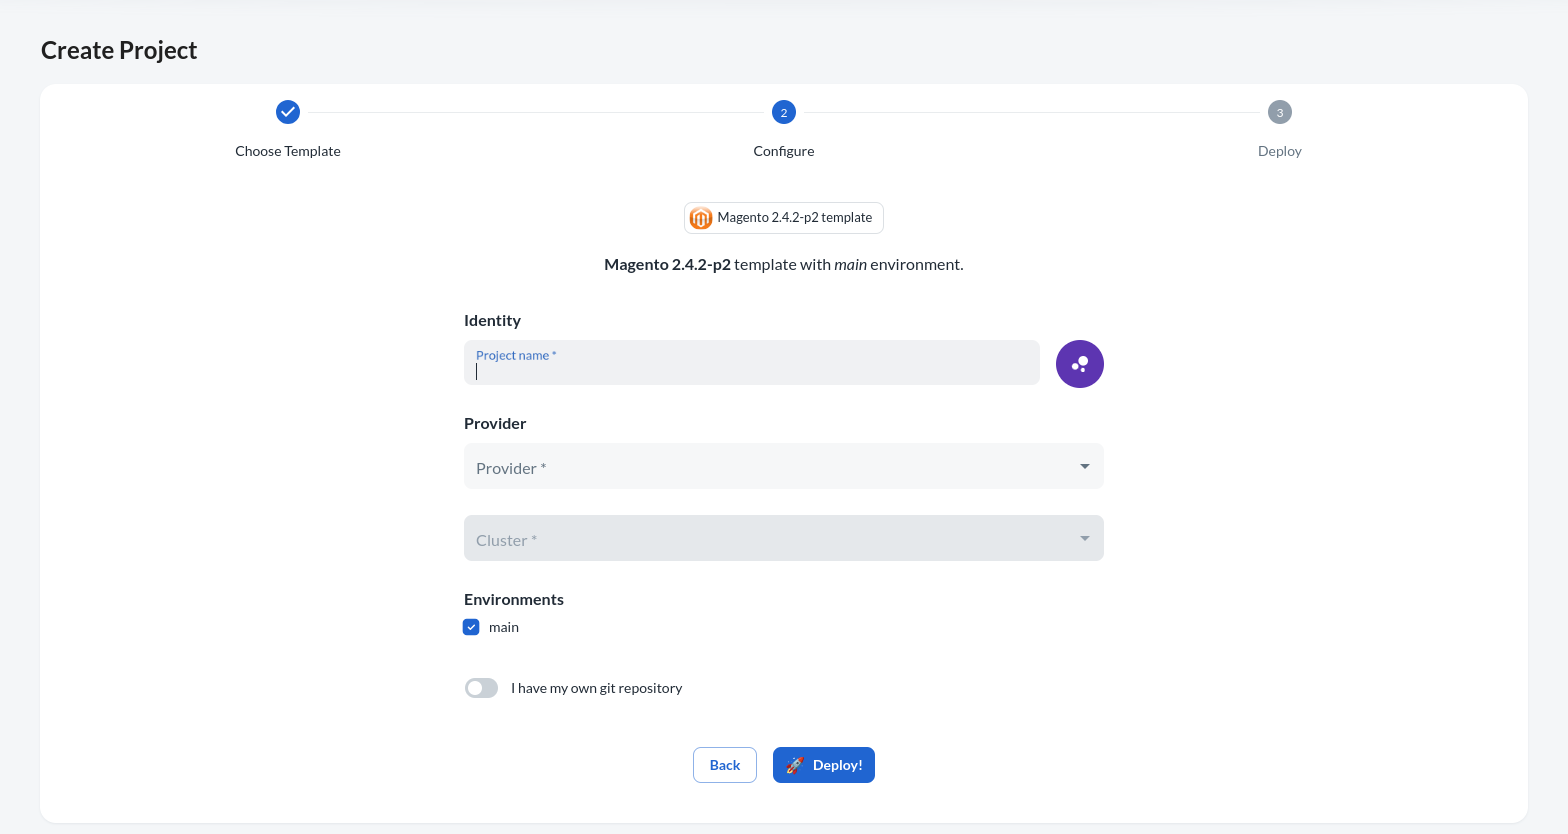
Deployment:
Click the deploy button to initiate the project creation process.
Create from Scratch
Build a project from the ground up.
Project Initialization:
Specify a project name (select a project icon color - optional).

Project Skeleton:
This feature is essential when initiating a project without existing code, allowing users to commence with a fundamental core structure.
Project Repository:
Choose whether to use an internal or external repository. Configure repository details as needed (Options include internal or external repositories, with support for SSH or HTTP connections).
Stack Configuration
Project Type and Version:
Select the project type and version.
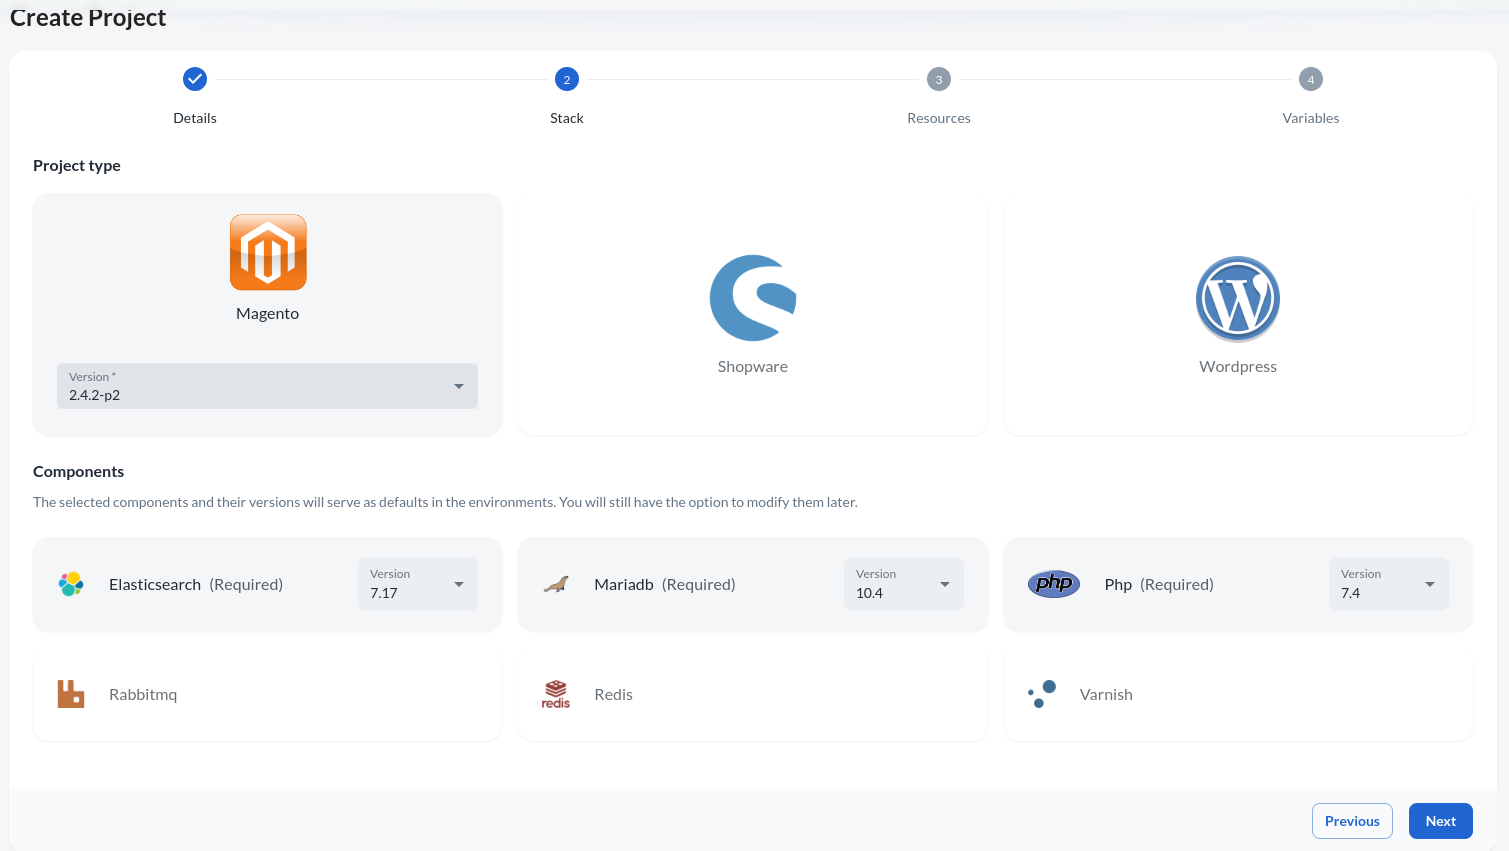
Component Selection:
Choose required components and their versions, including any additional components desired for the project.
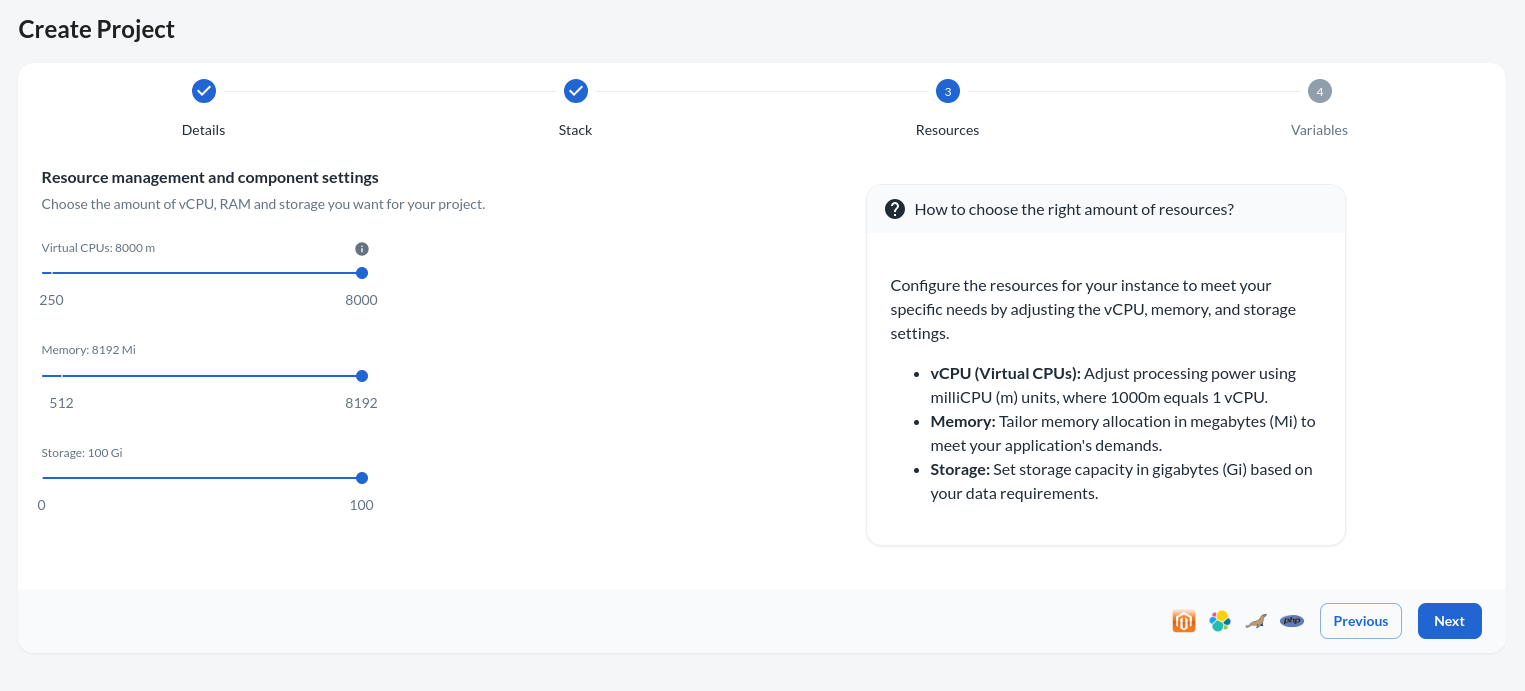
Resource Allocation
Resource Settings:
Define the resource allocation of the project environments using the CPU, Memory and storage sliders. Costs are calculated based on these allocations.
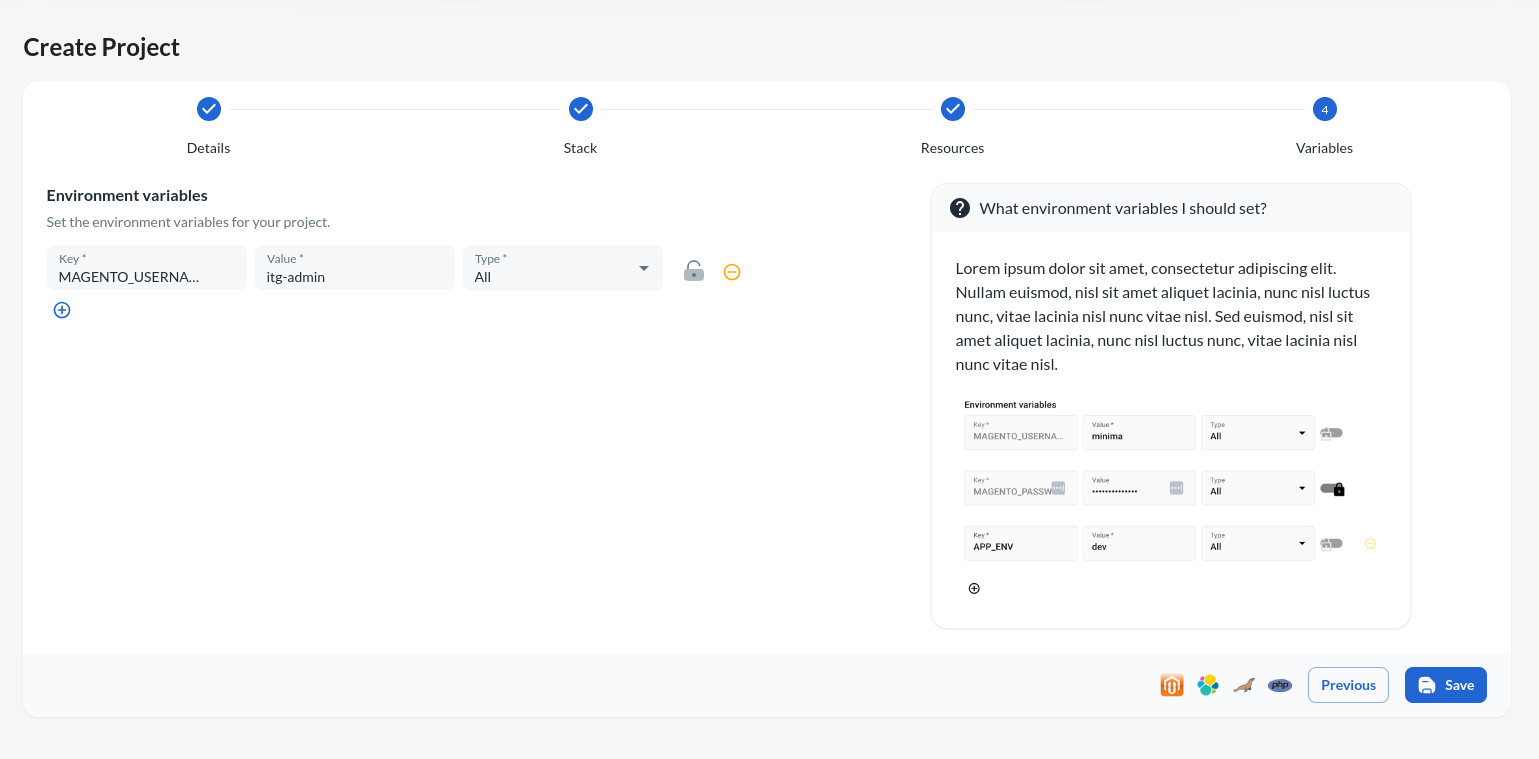
Variable Configuration
Environment Variables:
Specify environment variables required for build or runtime operations. For example, define variables such as Magento username and password. Allowed environment variables are available by clicking here.
Saving and Deployment
Review all settings and configurations before saving. Upon saving, the project creation process begins.
Ensure compatibility between selected components and project versions to avoid errors during deployment.
By following these steps, users can effectively create and configure projects according to their requirements, whether starting from scratch or utilizing predefined templates.